Table of Contents
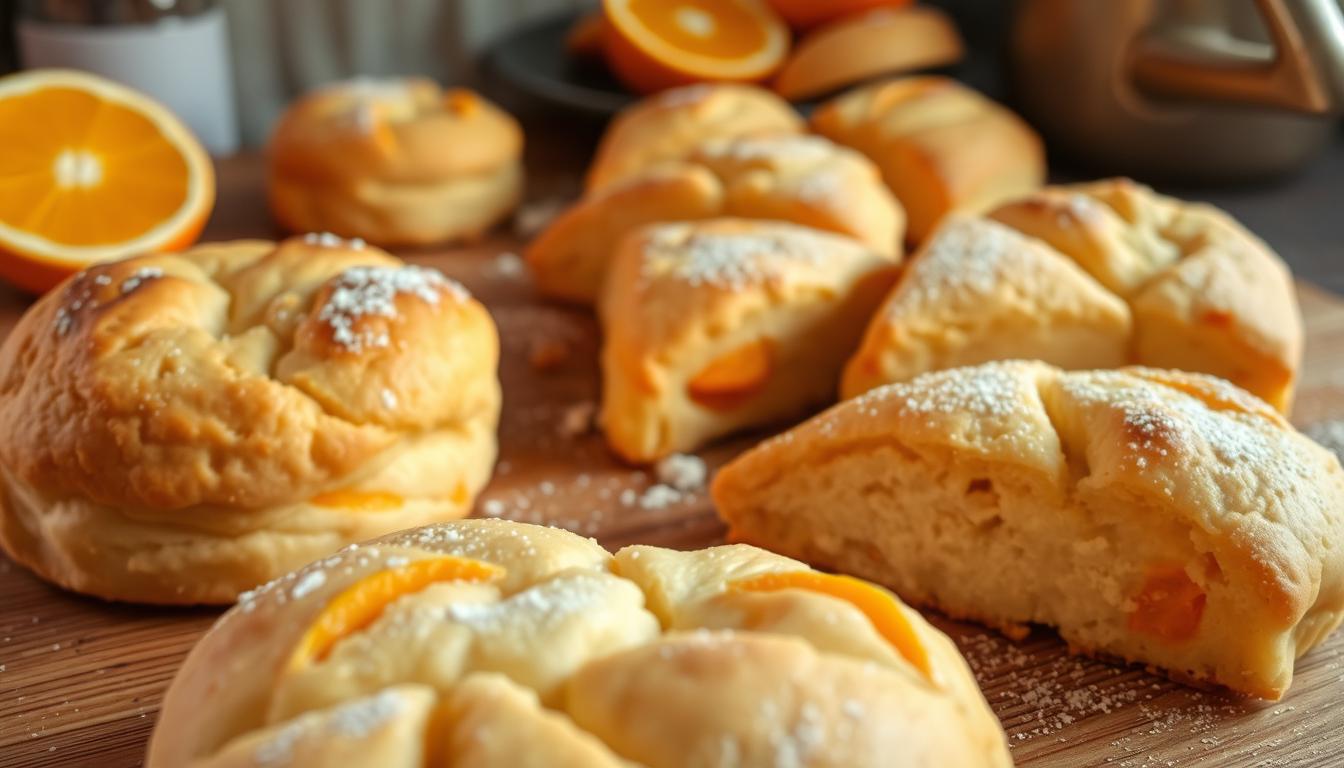
The first time I pulled a tray of orange cream scones from the oven, the kitchen filled with an intoxicating citrus aroma. This aroma instantly transformed an ordinary morning into something magical. These buttery scones aren’t just a breakfast treat – they’re a sensory experience that connects us to comfort and tradition.
Imagine biting into a perfectly flaky scone, where delicate layers crumble against your tongue, releasing bright orange zest and rich cream. Orange cream scones represent more than just a recipe; they’re a celebration of culinary craftsmanship. They turn simple ingredients into extraordinary moments.
Whether you’re a seasoned baker or a curious home cook, these scones promise to elevate your baking skills. They will delight your taste buds with their irresistible combination of tender texture and vibrant citrus notes.
Key Takeaways
- Learn the secrets to creating incredibly flaky and buttery scones
- Discover how to maximize orange flavor in your baking
- Understand the science behind perfect scone texture
- Master techniques for creating professional-quality pastries at home
- Explore versatile serving and pairing options for orange cream scones
Introduction to Classic Orange Cream Scones
Cream-based treats are a favorite in breakfast pastries, and orange cream scones are a standout. They mix British baking tradition with the bright taste of citrus.

Scones have a long history in the British Isles. They started as a simple bread but have become a gourmet breakfast treat. Their rise from a humble snack to a morning favorite shows their versatility and taste.
A Delicious Historical Journey
The history of cream-based treats goes back centuries. Scones became a key part of British and Irish cuisine. They were a quick and tasty bread made with simple ingredients.
- Originated in Scotland in the early 1500s
- Initially made with oats and griddle-baked
- Evolved to include cream and butter for richer texture
Why Orange Scones Make the Perfect Breakfast
Orange cream scones offer a special breakfast experience. They mix nutrition with flavor. The citrus gives a refreshing morning boost, and the cream-based texture is satisfying.
“A good scone is like a warm hug for your taste buds” – Traditional Baker’s Saying
What Makes These Scones Special
The mix of cold butter, heavy cream, and fresh orange zest makes these scones unique. Each scone has a perfect mix of:
- Buttery richness
- Bright citrus notes
- Delicate, flaky texture
Nutritional bonus: With approximately 387 calories per serving, these scones provide energy and satisfaction to start your day right.
Essential Ingredients for Perfect Orange Cream Scones

Making delicious orange cream scones begins with picking the right ingredients. Your treats will stand out with top-notch items that enhance the orange zest flavor.
The base of a fantastic scone recipe includes these key ingredients:
- 2 cups all-purpose flour
- 1/3 cup granulated sugar
- 1 tablespoon baking powder
- 1/2 teaspoon salt
- 1/2 cup very cold unsalted butter
- 1/2 cup heavy cream or buttermilk
- 1 large egg
- 2 teaspoons vanilla extract
- 1 tablespoon fresh orange zest
Orange zest is key in boosting the scones’ flavor. Its bright, citrusy taste turns simple baked goods into a special breakfast delight.
| Ingredient | Nutritional Impact | Flavor Contribution |
|---|---|---|
| Orange Zest | Vitamin C: 10.9 mg | Bright, citrusy essence |
| Heavy Cream | Calcium: 38.6 mg | Rich, smooth texture |
| Cold Butter | Fat: 4.5g | Flaky, tender crumb |
For a luxurious twist, top your scones with clotted cream. The mix of fresh orange zest and creamy topping is unforgettable, making your taste buds happy.
Pro tip: Always use fresh, cold ingredients and handle the dough gently. This ensures your scones are tender and flaky.
The Science Behind Flaky Scone Texture
Making perfect flaky scones is a mix of science and cooking skill. Knowing the chemistry of pastries turns simple ingredients into amazing treats.
The secret to flaky scones is how ingredients work together when baked. Success comes from key factors that turn dough into a magical treat.
Cold Butter’s Magic
Cold butter is key for flaky scones. Cold butter chunks make steam pockets in the dough when baked. These pockets make the dough layers separate, giving scones their flaky texture.
- Use butter straight from the refrigerator
- Cut butter into small, uniform pieces
- Work quickly to keep butter cold
Heavy Cream’s Critical Function
Heavy cream does more than just moisten your scones. It adds richness, tenderness, and helps ingredients stick together. The fat in heavy cream makes your treats feel luxurious.
Flour and Mixing Techniques
The type of flour and how you mix it affect scone texture. Use all-purpose flour with moderate protein. Mix just enough – too much mixing makes scones tough.
- Use gentle folding techniques
- Stop mixing when ingredients just combine
- Handle dough with a light touch
Step-by-Step Preparation Method
Making orange cream scones needs precision and care. Your baking journey starts with the right ingredients and a detailed preparation method.
First, gather your essential ingredients for orange cream scones:
- 1½ cups all-purpose flour
- ⅓ cup sugar
- 2 teaspoons baking powder
- ¼ teaspoon baking soda
- ¼ teaspoon salt
- 4 tablespoons cold butter, cubed
- ½ cup whole milk
- 1 large orange, zested
The preparation process has several key steps for the perfect texture:
- Mix dry ingredients: Combine flour, sugar, baking powder, baking soda, and salt in a large bowl
- Cut in cold butter: Use a pastry cutter to create pea-sized butter crumbs
- Add wet ingredients: Gently mix in milk and orange zest
- Shape the dough: Form into a circular shape and cut into 8 wedges
- Chill before baking: Refrigerate for 15 minutes to enhance flakiness
To get the best orange cream scones, bake at 400°F for 12-15 minutes until golden. These steps ensure your baked goods turn out perfectly every time.
Tips for Working with Citrus Zest
Unlocking the vibrant citrus flavors in your Orange Cream Scones starts with mastering the art of orange zest. The right technique can transform an ordinary scone into an extraordinary culinary experience.
When selecting oranges for zesting, choose organic fruits with bright, unblemished skin. The outer layer contains essential oils that provide intense orange zest flavor.
Selecting the Perfect Orange
- Look for firm, heavy oranges with smooth skin
- Avoid oranges with soft spots or discoloration
- Organic oranges work best for maximum citrus flavors
- Wash the orange thoroughly before zesting
Mastering Zesting Techniques
To maximize your orange zest potential, use a microplane or fine grater. Zest only the bright orange outer layer, carefully avoiding the bitter white pith underneath.
- Hold the grater at a 45-degree angle
- Gently roll the orange while zesting
- Stop zesting when you see white patches
- Measure 2 tablespoons of zest for optimal flavor
Pro tip: For the most intense citrus flavors, zest your orange immediately before mixing the scone dough. Fresh zest provides the most vibrant and aromatic results in your baking.
Preserving Orange Zest
If you can’t use the zest immediately, store it in an airtight container in the freezer. This technique helps preserve the essential oils and maintains the bright orange zest flavor for future baking adventures.
The Perfect Orange Glaze Recipe
Making the perfect orange glaze for your orange cream scones takes them from good to great. The right glaze adds a burst of citrusy flavor and sweetness.
Here’s a simple recipe to make your orange cream scones irresistible:
- 3 cups powdered sugar
- ⅓ cup fresh orange juice
- 6 tablespoons unsalted butter
- Optional: 1 teaspoon finely grated orange zest
This glaze is easy to make. Fresh orange juice gives a stronger flavor than bottled juice. The butter makes it richer, and the orange zest adds more citrus.
“A perfect glaze is the crown jewel of any great scone!” – Pastry Chef Emma Richardson
Preparation Method
- Sift powdered sugar into a mixing bowl
- Gradually add orange juice, whisking until smooth
- Incorporate melted butter
- Fold in orange zest if using
Your glaze will take about 2 hours to set. For the best look, let your scones cool before glazing.
Storage Recommendations
| Storage Location | Duration |
|---|---|
| Room Temperature | Up to 48 hours |
| Refrigerator | Up to 1 week |
| Freezer | Up to 3 months |
Pro tip: For a beautiful look, drizzle the glaze in a zigzag pattern. Let it flow down the sides of your scones.
Baking Techniques for Professional Results
Making perfect baked goods like Orange Cream Scones needs precision and detail. Professional pastry chefs say mastering baking techniques can make your homemade scones amazing.
Getting professional-quality pastries starts with knowing key baking aspects. Your success depends on two main things: controlling temperature and knowing when to stop baking.
Mastering Oven Temperature
The best baking temperature for Orange Cream Scones is between 400°F and 425°F. This ensures your scones get a golden-brown outside and stay soft inside.
- Preheat your oven for at least 20 minutes
- Use an oven thermometer to check the temperature
- Put scones in the center rack for even baking
Visual Doneness Indicators
Knowing when your scones are done needs careful watching. Look for these important signs:
| Visual Cue | Meaning |
|---|---|
| Golden Brown Edges | Shows they’ve baked long enough (22-25 minutes) |
| Firm Surface | Means they’re fully cooked |
| Light Cracking on Top | Indicates the right texture |
Remember, baking time can change based on your oven and scone size. Always watch your baked goods closely for the best result.
Storage and Freshness Tips
Keeping your homemade breakfast pastries fresh is key. Your scones need special care to stay tasty and soft.
For the best taste, store your baked goods in an airtight container at room temperature. They’ll stay fresh for 1-2 days. To keep them longer, try these tips:
- Room temperature storage: Up to 2 days in a sealed container
- Refrigerator storage: Up to 1 week when wrapped tightly
- Freezer storage: Up to 3 months for maximum preservation
Pro tip: Wrap individual scones in plastic wrap before freezing to prevent freezer burn and maintain their delightful texture.
Ready to enjoy your frozen scones? Here’s how to reheat them:
- Thaw at room temperature for 30-45 minutes
- Preheat oven to 350°F
- Warm scones for 5-7 minutes until heated through
“Fresh scones are a morning luxury that can be enjoyed anytime with proper storage techniques!” – Baking Enthusiast
Freeze unbaked scone dough for up to a month. To bake frozen dough, start at 425°F and add 2-3 minutes to the baking time.
Homemade baked goods like orange cream scones are best fresh. Storage helps, but nothing beats the taste of a scone straight from the oven.
Serving Suggestions and Pairings
Orange cream scones make teatime special. They don’t just end with baking. They start with creative ways to serve them, making their taste and look even better.
Classic Accompaniments
For orange cream scones, try these classic pairings:
- Clotted cream – a thick, luxurious spread that complements the scone’s texture
- Homemade orange marmalade
- Fresh strawberry jam
- Lemon curd for a tangy contrast
Modern Serving Innovations
Try new ways to enjoy your orange cream scones:
- Breakfast sandwich base with scrambled eggs
- Dessert plate centerpiece with vanilla ice cream
- Brunch cocktail pairing with mimosas
- Afternoon tea accompaniment
“A scone is not just bread, it’s an experience waiting to be savored.” – Culinary Enthusiast
Your orange cream scones can be enjoyed in many ways. They go from a simple treat to a versatile delight for any time.
Variations and Flavor Combinations
Try new flavors with your orange cream scones. They’re a great base for creative recipes. You’ll love the taste and impress your friends.
Here are some tasty variations to try:
- Cranberry Orange Twist: Add 3/4 cup of dried cranberries for a sweet and tangy mix
- White Chocolate Decadence: Mix in white chocolate chips for a creamy, sweet treat
- Nutty Adventure: Add chopped almonds or pecans for a crunchy texture
- Tropical Fusion: Use shredded coconut for a unique flavor
When adding mix-ins, remember these tips:
- Make sure mix-ins are small and even
- Fold ingredients gently to keep the scones soft
- Adjust the liquid if you add moist ingredients
Try different citrus zests to change your scones. Swap orange zest for lemon, lime, or grapefruit. Each zest adds a special flavor to your scones.
Seasonal flavors can make your scones even better. Add cinnamon or nutmeg in winter for warmth. In summer, add fresh berries for a cool twist.
Troubleshooting Common Scone Problems
Baking flaky scones can be tricky, even for experienced bakers. Knowing the common challenges helps you make perfect scones every time. Whether it’s texture or baking consistency, these tips will help you solve common scone-making problems.
When making flaky scones, several issues can pop up. These problems can affect your final product. By recognizing and fixing these challenges, you can improve your baking skills.
Texture Troubles
Getting the right scone texture is all about technique. Here are some common texture issues and how to fix them:
- Tough Scones: This is often due to overworking the dough. Mix ingredients until just combined
- Dry Scones: Too much flour or overbaking can cause this. Make sure to measure ingredients accurately
- Dense Texture: This can happen if the butter isn’t cold enough. Keep the butter chilled until you mix it
Baking Challenges
Professional bakers know that baking temperature and technique are key. Here are some strategies to help:
- Start baking at 400°F, then reduce to 375°F
- Freeze scones for 30 minutes before baking to keep their shape
- Use fresh baking powder for the best rising
By using these troubleshooting techniques, you’ll make delicious scones that everyone will love.
Conclusion
Making the perfect orange cream scones is an art that needs both skill and love. You’ve learned that success comes from mastering important techniques and knowing how ingredients work together. Every step is crucial, from picking fresh oranges to cutting cold butter into flour.
The flaky scones you make are more than just a recipe. They are a delightful culinary journey. By following this guide, you can turn simple ingredients into amazing breakfast treats. Paying attention to details, like keeping butter cold and mixing just right, will improve your baking.
Orange cream scones are a blank canvas for creativity. Whether you’re new to baking or have lots of experience, these scones let you try new flavors and techniques. Remember, baking is both a science and an art. Each batch you make brings you closer to perfecting your own version of this classic pastry.
Your baking journey doesn’t stop here. Share your scone creations, learn from each try, and keep exploring the world of homemade pastries. With practice and patience, you’ll get better at making delicious orange cream scones that will wow your family and friends.